When a nail tech arrives at my course with a case of twenty bits, I usually know what comes next: half of them are never used, and the other half are used the wrong way. So we start with something simple — what each shape actually does. Let us start with the simple question: which nail drill bits do you actually need.
Nail drill bits: what you actually need
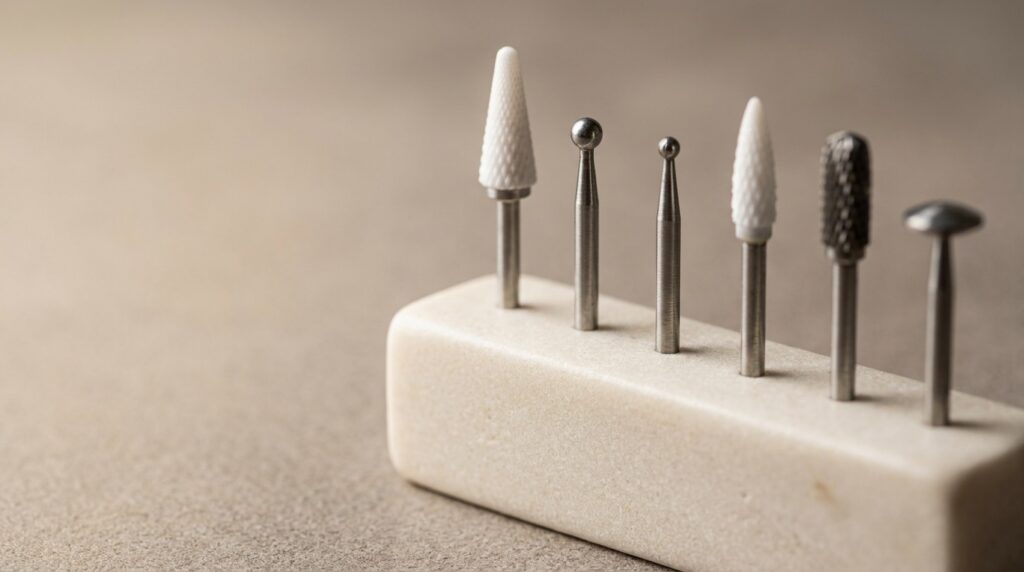
Nail drill bits come down to six shapes — and that covers 90% of the work. Below, what each one is for and what RPM to run it at.
The basic set that covers 90% of the work
Cone (truncated cone)
The main bit for lifting the pterygium and working the cuticle. It works with its side, not its tip. Hold it almost parallel to the plate, move from the centre towards the lateral fold, no pressure.
Ball
For the lateral sinuses and for cleaning up the pterygium after the cone. Choose the size to fit the sinus, not “whichever one is on the desk”. A large ball in a small sinus is a filed-down fold, not work.
Flame
Precision under the cuticle and removing residue. It feels like the sharpest bit in the set — it is the one that nicks clients most often in the first months. If your hand is not steady yet, stay with the cone and the ball for now.
Barrel / corn (carbide)
Product removal: gel polish, gel, acrylic. Not for skin. Ever.
Small ball / lens for the free edge
The edge and the zone underneath it. A small thing that visibly shortens your finishing time.
Material: ceramic, carbide, diamond
- Diamond — for skin. Soft, controllable, made for the cuticle area.
- Carbide — for product. Removes fast, hates pressure: it overheats and chews instead of cutting.
- Ceramic — for product and for the natural plate during removal. Runs cooler and quieter, but dulls faster.
Grit by band colour
- Black — coarse, bulk removal. It has no business near the cuticle.
- Blue — medium, your everyday bit.
- Red — fine, for skin and delicate zones.
- Yellow / white — finest, finishing and buffing.
The rule is simple: the closer you are to living skin, the finer the grit.
RPM
The number on the machine is not a measure of skill. Working ranges for most tasks:
- cuticle and pterygium — 12,000–20,000;
- product removal — 20,000–30,000;
- free edge and finishing — 8,000–15,000.
If you keep raising the speed to “make it go faster” and the bit still will not cut, the problem is not the RPM. The bit is dull, or you are pressing.
Four mistakes that show immediately
- Working with the tip instead of the side. That is where those grooves along the fold come from.
- Pressure. The bit should cut with the weight of your hand. Pressure means heat and an uneven surface.
- Standing still. Two seconds without movement on one spot and the client already feels it.
- One bit for everything. Usually the cone, used both for the cuticle and for filing product.
Sterilisation, briefly
A bit goes through the same cycle as your metal tools: ultrasonic cleaning or soaking, rinsing, drying, pouch, autoclave. “I wiped it with alcohol” is not reprocessing. It is the thing you will one day have to explain, very uncomfortably, to a client with an inflamed finger.
How many you really need
A cone, two balls in different sizes, a flame, a carbide barrel and something for the free edge. Six bits. Everything else is either a narrow task or an emotional purchase sitting in a drawer.
Six bits you use deliberately beat twenty you pick at random.